Looking to give your balcony a fresh, charming vibe? DIY wooden planters are the perfect way to bring greenery and style together. In this guide by Ashley Scott, we’ll show you exactly how to create beautiful, long-lasting wooden planters for your balcony space — no advanced carpentry skills required.
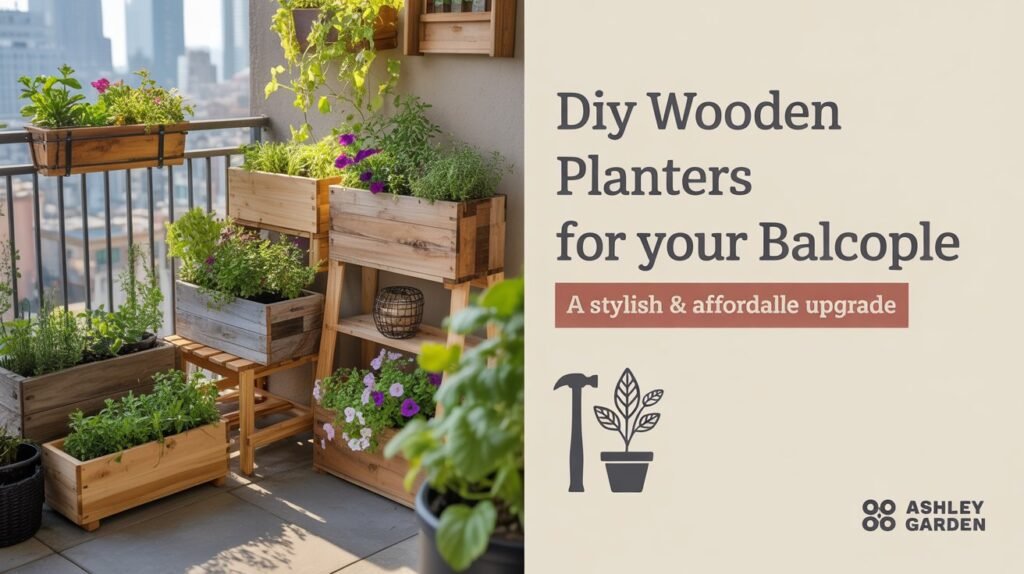
🪴 Why Wooden Planters Are Perfect for Your Balcony
Wooden planters not only look natural and elegant, but they’re also durable, easy to customize, and ideal for small spaces like balconies.
Benefits include:
- Better insulation for plant roots
- Natural drainage
- Custom sizing and design
- Affordable and eco-friendly
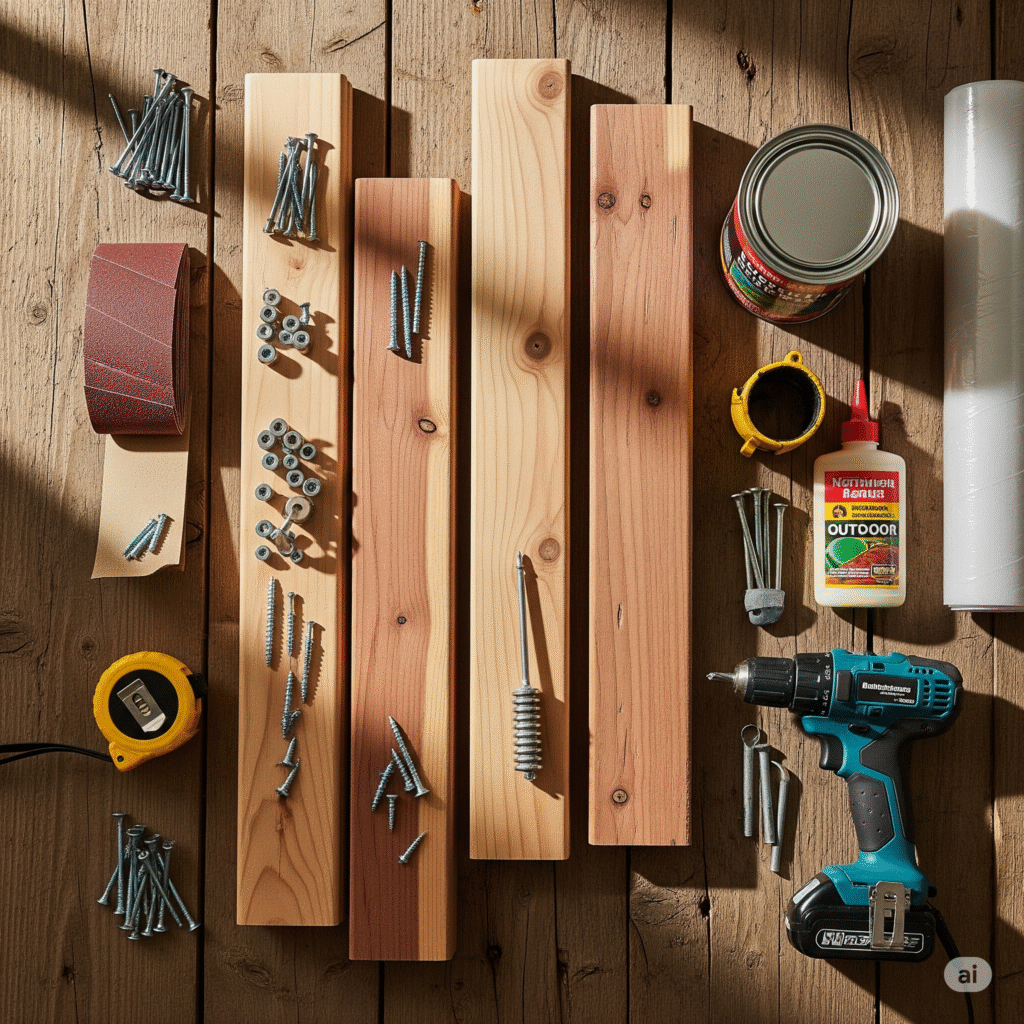
🧰 Materials You’ll Need
- Wooden planks (cedar or pine recommended)
- Screws and nails
- Sandpaper
- Measuring tape
- Wood glue
- Wood stain or outdoor paint (optional)
- Drill
- Liner or plastic sheeting (to protect wood)
✂️ Step-by-Step Guide to Make Your Own Wooden Planters
Step 1: Measure & Cut Your Wood
Measure your balcony space and decide how big you want your planter. Common size: 24″ x 10″ x 12″. Cut your planks accordingly.
Step 2: Sand the Edges
Smooth all surfaces using sandpaper to avoid splinters and help the paint/stain stick better.
Step 3: Assemble the Box
Use wood glue to attach the base and sides. Reinforce with nails or screws. Let dry for 12–24 hours.
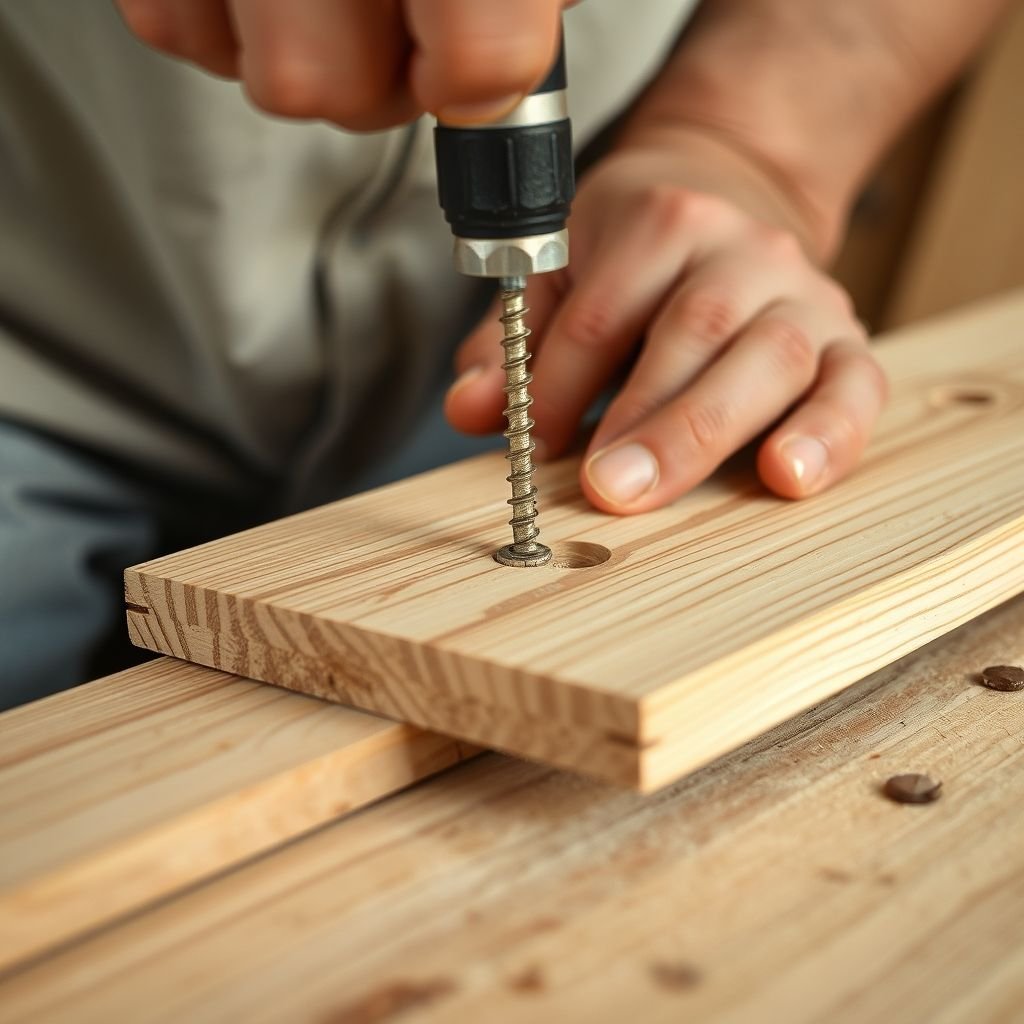
Step 4: Add a Drainage Layer
Drill small holes in the base or add a liner with slits for drainage.
Step 5: Stain or Paint (Optional)
Use outdoor wood stain or paint for weather protection and aesthetics.
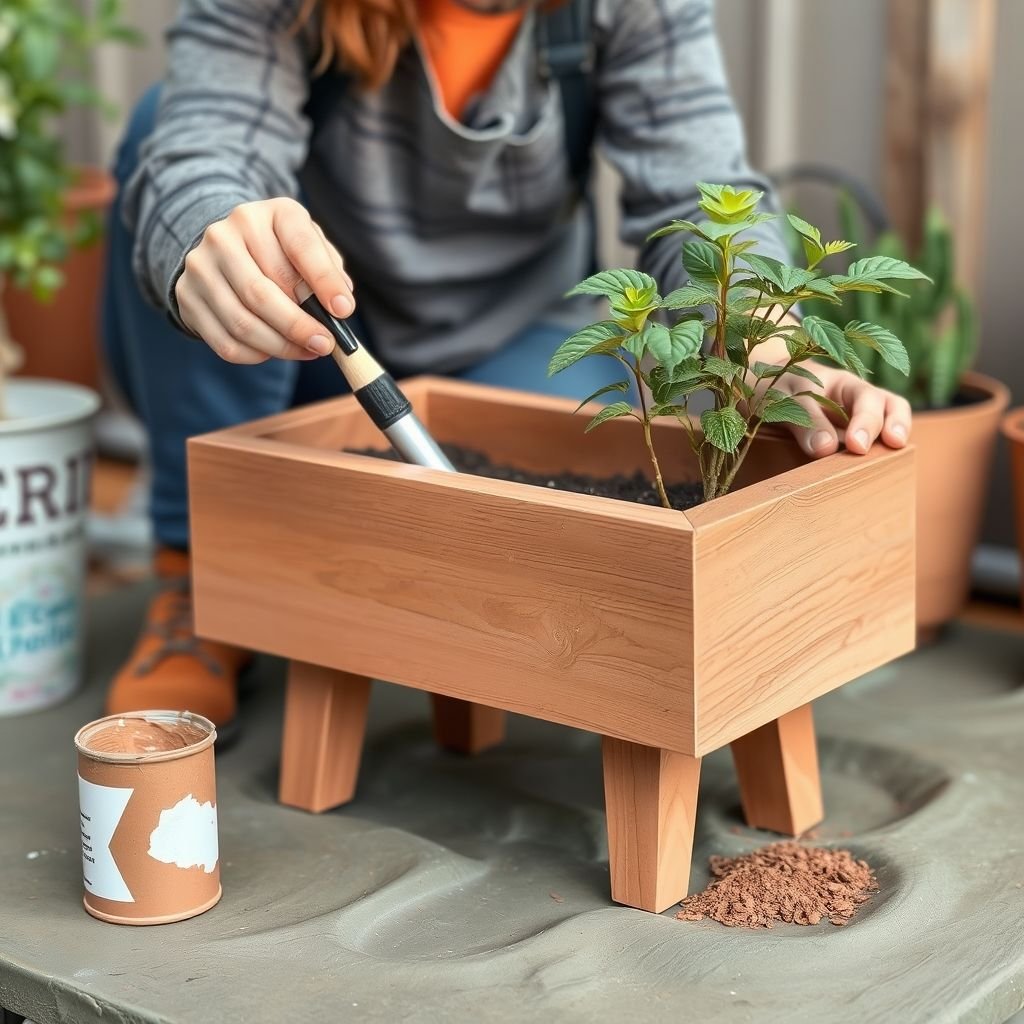
Step 6: Plant Your Greens!
Add soil and your favorite balcony plants: herbs, succulents, flowers, or even mini veggies.
🌿 Top Plant Choices for Balcony Wooden Planters
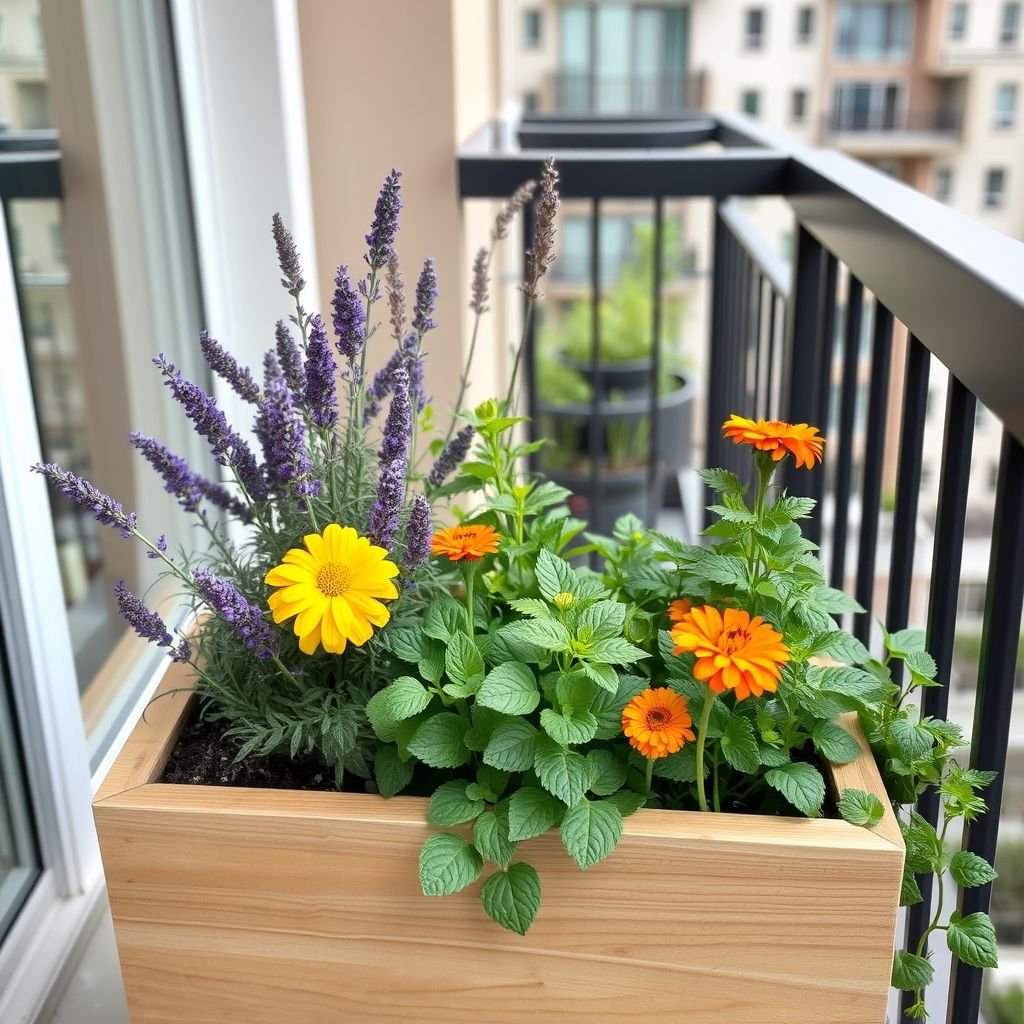
- Basil & Mint – Easy to grow and great for cooking
- Lavender – Aromatic and pollinator-friendly
- Petunias & Marigolds – Add color
- Snake Plant & ZZ Plant – Low maintenance
💡 Pro Tips for Long-Lasting Planters
- Line the inside with plastic before adding soil
- Elevate with feet or small blocks to avoid waterlogging
- Re-stain once a year to prevent weather damage
🔍 Q&A (FAQ)
Q: Can wooden planters rot?
A: Yes, but using cedar or treating wood with sealant and a liner can extend life significantly.
Q: How do I waterproof my wooden planter?
A: Use a plastic liner or waterproof sealant on the inside.
Q: What size should a wooden balcony planter be?
A: Depends on the space, but 24″ length is perfect for small balconies.
📌 Final Thoughts from Ashley Scott
DIY wooden planters don’t just upgrade your balcony—they reflect your creativity and care for green living. Whether you’re a gardening newbie or an urban plant lover, this project is sure to brighten your home.
🪴 Follow me for more DIY balcony garden ideas, wooden planter projects, and urban gardening tips right here at ashleygarden.blog.
Leave a Reply