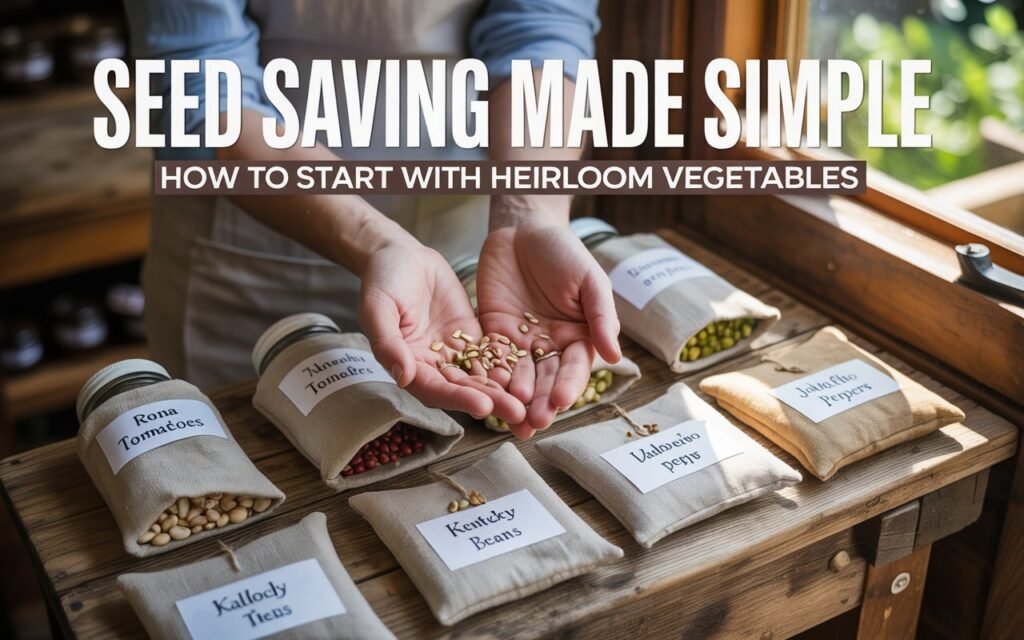
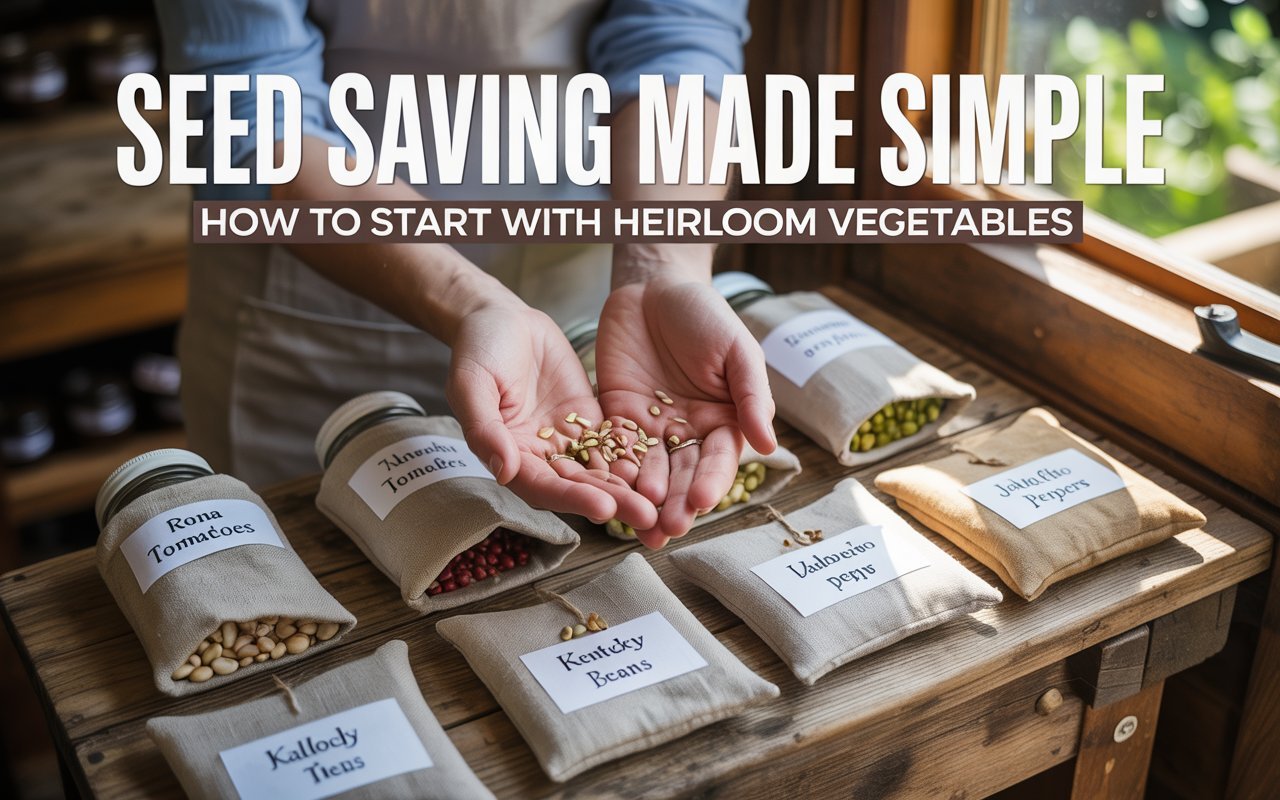
Learn seed saving for heirloom vegetables with easy steps, personal tips, and real examples. Preserve rare varieties, save money, and grow healthier gardens.

Hi gardening friends, I’m Ashley Scott. After more than 10 years of growing my own food, one of the most rewarding things I’ve learned is seed saving for heirloom vegetables. Not only does it save money, but it also helps preserve unique varieties you won’t find in stores. In this post, I’ll share simple steps, my personal routines, and mistakes to avoid when saving seeds.
Why Save Seeds from Heirloom Vegetables?
When I first started gardening, I bought new seed packets every year. Then I realized my heirloom tomatoes and beans tasted better than anything from the store. By saving seeds, I kept those flavors going season after season.
Here’s why seed saving matters:
- Preserves diversity – You keep rare varieties alive.
- Saves money – Fewer seed purchases each spring.
- Adapts to your garden – Seeds adjust to your soil and climate over time.
- Keeps flavor consistent – You can grow the same great-tasting vegetables every year.
The Seed Savers Exchange is a great resource for understanding the importance of heirloom preservation.
Best Vegetables to Start With
Some vegetables are easier than others for beginners. I recommend starting with:
- Tomatoes – Heirloom tomatoes are simple to ferment and save.
- Beans and peas – Dry well and store for years.
- Lettuce – Produces plenty of seeds if you let it bolt.
- Peppers – Easy to scoop seeds, just dry them properly.
Avoid plants that cross-pollinate easily, like squash or corn, until you have more experience. Oregon State University Extension has helpful guides on which vegetables cross-pollinate.
For my own garden, I started with tomatoes. A single plant gave me hundreds of seeds, enough to share with neighbors.
Steps for Saving Seeds
Here’s a simple routine I use for seed saving for heirloom vegetables:
1. Select the Best Plants
Pick healthy, strong plants with the best flavor. Avoid plants with disease or poor growth. For example, I always choose my sweetest tomato plant for seed saving.
2. Harvest at the Right Time
- Tomatoes and peppers: harvest when fully ripe.
- Beans and peas: wait until pods are brown and dry on the plant.
- Lettuce: allow flowers to turn fluffy and dry before collecting.
3. Clean and Process Seeds
- Tomatoes – Ferment seeds in a jar of water for 2–3 days, then rinse and dry.
- Peppers – Scoop seeds, spread them on a plate, and let them dry.
- Beans/peas – Shell dried pods and keep seeds.
- Lettuce – Rub flower heads gently to release seeds.
4. Dry Properly
Always dry seeds in a cool, shaded area. I spread them on paper towels or coffee filters. Seeds should snap, not bend, when dry.
5. Store Correctly
Use paper envelopes or glass jars. Label each with the vegetable name and year. Store in a cool, dry place. My saved seeds stay viable for 3–5 years this way.
For more technical advice, the University of Minnesota Extension offers great details.
Avoiding Cross-Pollination
One challenge in seed saving is cross-pollination. If different varieties of the same vegetable grow too close, seeds may not stay true. For example, peppers can cross with other peppers. To prevent this:
- Keep varieties 200–300 feet apart.
- Use mesh bags over flowers.
- Save seeds from only one variety each season if space is limited.
I once saved cucumber seeds from a plant near zucchini. The next year, the fruit looked and tasted odd. Lesson learned: separation matters.
Common Mistakes to Avoid
Over the years, I’ve made a few seed-saving mistakes. Here’s what to watch for:
- Storing seeds before fully dry – This leads to mold.
- Not labeling – I once had three jars of “mystery beans.” Labels are key.
- Saving hybrid seeds – Hybrids don’t produce true-to-type plants. Stick with heirlooms.
The Clemson Cooperative Extension explains why hybrids aren’t good for seed saving.
My Personal Seed-Saving Routine
Here’s what I do each season:
- Spring – Choose which plants I’ll save seeds from.
- Summer – Tag the healthiest plants with ribbon so I don’t forget.
- Late summer/fall – Harvest and clean seeds.
- Winter – Store seeds, review my collection, and plan next year’s garden.
I also like to swap seeds with friends. It’s a great way to try new heirloom varieties and share favorites. Check out my post on low-maintenance gardening tips to see how I keep seed-saving simple.
For More Reading
Here are more resources on my blog that pair well with seed saving:
- DIY Compost Bin Ideas for Urban Backyards
- Organic Weed Control Methods
- How to Water Plants the Right Way
- Clay Pot vs Plastic Pot: Best Choices for Container Plants
- 5-Minute Garden Fixes: Quick Solutions for Common Problems
Final Thoughts
Starting seed saving for heirloom vegetables may feel overwhelming at first, but once you try it, it becomes a simple yearly habit. You’ll save money, enjoy consistent harvests, and help preserve heirloom varieties for the future. Begin with easy crops like tomatoes or beans, and build from there.
Do you already save seeds from your garden? Share your favorite heirloom variety in the comments, and explore more tips at Ashley Garden Blog.

Leave a Reply